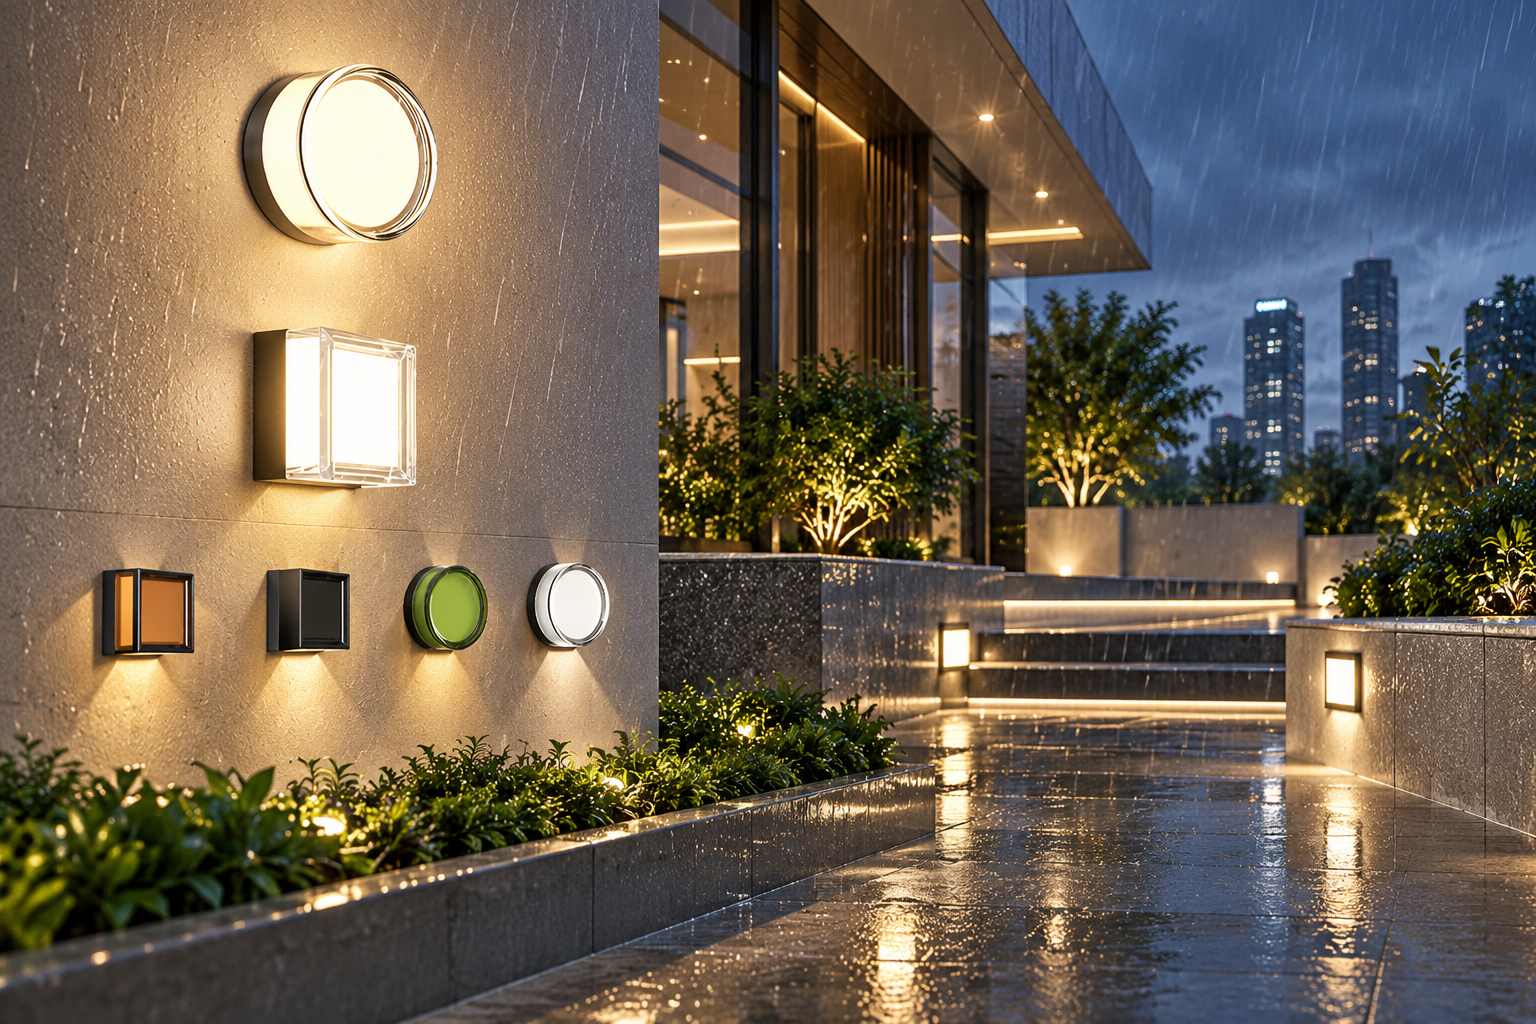
Choosing LED outdoor lights for a commercial or architectural project means matching the fixture to the site before comparing price or appearance. A product that works under a canopy may be a poor choice on an exposed façade, and a bright fixture can still perform badly if its beam, mounting height, or service access is wrong. The specification therefore has to translate site conditions into practical purchasing criteria that can be checked on a sample and repeated in production. The aim is to approve a fixture that can deliver the required result consistently in the actual location.
Which Outdoor Lighting Type Fits the Site and the Lighting Task?
The first decision is usually made on the drawing rather than in a catalog. Exterior lighting serves different jobs, and each job changes the specification.
Separate Circulation Lighting from Architectural Lighting
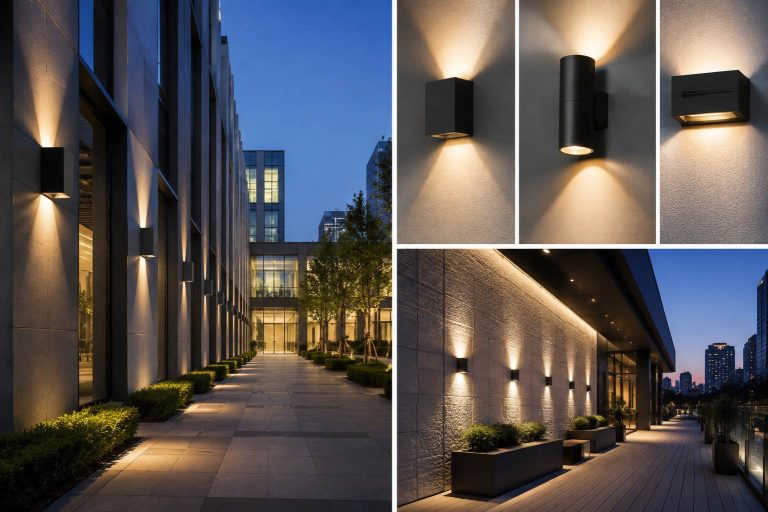
Pathways, entrances, façades, landscape areas, and outdoor hospitality zones do not need the same distribution. Circulation lighting has to support movement without harsh contrast. Façade lighting is more concerned with beam control, surface texture, and how the building reads after dark. Landscape lighting may need tighter control because a small aiming error can send light into windows or neighboring areas.
Before contacting suppliers, mark the mounting position, target surface, approximate height, and viewing direction. That information is more useful than wattage alone.
Treat Exposure as a Site Condition, Not a Label
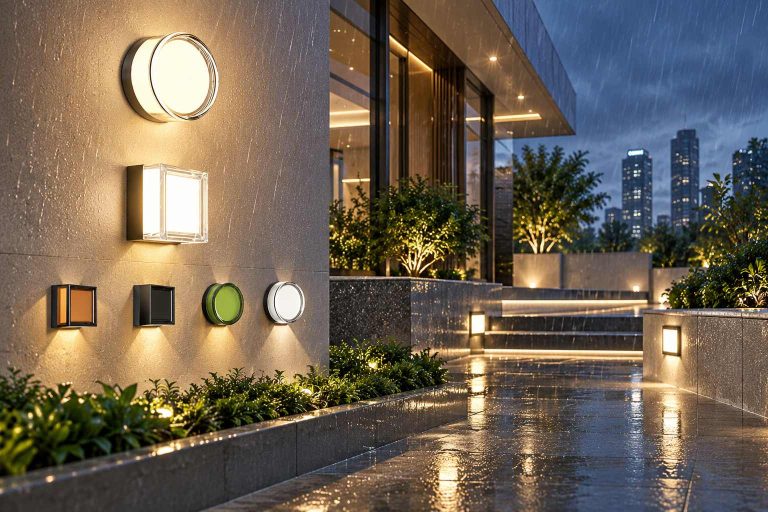
“Outdoor” covers several environments. A fitting under a deep roof overhang experiences different water and dust exposure from one mounted on an open wall. Local exposure can also affect materials and connections.
Buyers need to know whether the housing, cable entry, sealing method, finish, and installation detail suit the exposure documented for the project. A specification that simply says “outdoor use” leaves too much room for interpretation when suppliers prepare samples or quotations.
What Should Buyers Check Beyond the IP Rating?
An enclosure rating matters, but it does not describe the whole assembly or the way the fixture will be installed. It should be read together with the physical construction.
Inspect the Points Where Protection Can Be Lost
During sample review, inspect joints, lenses, gaskets, cable entries, screws, and service openings. A housing can be well sealed in the main body yet still depend on correct field installation at the cable connection. If a gasket or service cover must be disturbed during maintenance, the reassembly method should be clear.
Materials deserve the same attention. Fasteners, mounting plates, coatings, and exposed metal interfaces can become weak points over time.
| Inspection Point | Why It Matters | What to Confirm |
|---|---|---|
| Cable entry | Possible moisture path | Sealing after installation |
| Gasket interface | Maintains enclosure protection | Alignment after servicing |
| Fasteners | Can loosen or corrode | Material and accessibility |
| Surface finish | Affects appearance and protection | Suitability for site exposure |
| Service cover | May be opened later | Protection after reassembly |
Check the table against the installation drawing because mounting orientation can change exposure at cable entries and service joints. That is why enclosure data should be reviewed together with the physical installation rather than used as a stand-alone purchasing decision.
How Should Optical Performance Be Judged Outdoors?
Exterior projects are often compared by lumens and wattage first, even though users see distribution rather than total output. Light that lands in the wrong place adds little value and may create glare or spill.
Review the Beam on the Actual Target Surface
A narrow beam may suit a tall architectural feature, while a broad beam can improve pathway coverage but increase spill. Before approval, review beam angle, aiming range, shielding, source visibility, mounting height, spacing, and distance to the target.
Where appearance matters, compare several samples. A single fixture may look acceptable in isolation while a row reveals uneven beam edges or visible color differences. Night-time mock-ups are especially useful for façades, entrances, and landscape areas because nearby surfaces and background darkness change how brightness is perceived.
Color decisions should stay tied to the materials being illuminated. CCT changes the appearance of stone, timber, metal, planting, and painted façades, while CRI may matter where people, displays, or hospitality areas are involved. For larger projects, consistency between adjacent fixtures deserves its own approval check rather than being assumed from a nominal CCT value.
Which Electrical and Mechanical Details Cause the Most Site Problems?
Many procurement problems are not caused by light output. They come from a mismatch between the fixture and the electrical or construction conditions on site.
Confirm the Interface Before the Sample Is Approved
The purchase specification should state input voltage, system wattage, driver configuration, control or dimming method where required, and the expected operating environment. If a control system is part of the project, test the sample with that control method rather than relying on a generic bench test.
Mechanical details belong in the same approval file. Ask for a drawing showing mounting points, cable routing, fixture orientation, dimensions, and service access.
A useful sample review includes installation and removal. Check tool access, disconnection steps, and whether the fixture returns to the same alignment after servicing. This is particularly relevant for directional exterior lighting, where even a small change in aiming can alter the intended beam position after maintenance.
How Should Buyers Control Quality Before Mass Production?
Production consistency matters as much as the first approved sample. The approval process should turn that sample into a clear manufacturing reference rather than leaving important decisions in emails or verbal discussions.
Lock the Details That Affect Performance and Appearance
Keep the approved sample with the drawing revision, finish reference, optical requirement, electrical configuration, mounting details, labeling, and inspection criteria. The buyer should also identify which component changes could alter output, color, dimming behavior, sealing, installation, or durability.
Require notification when a proposed substitution could affect those characteristics, giving the project team time to review documents or a new sample. This matters on phased commercial projects, where a later batch may eventually be installed beside products purchased months earlier.
For final inspection, compare production against the retained reference rather than a broad phrase such as “same model.” Check appearance, basic electrical operation, finish consistency, mounting dimensions, and the critical points identified during approval. Written criteria keep both sides working from the same reference.
Need Help Matching Outdoor Lighting Specifications to Project Conditions?
Lionway Electronics Co., Limited. describes capabilities in LED lighting design, mold development, product manufacturing, optical-laboratory work, and professional testing. For exterior projects, buyers can review its outdoor lighting category and broader product catalog before discussing drawings, installation conditions, and project requirements through the Contact Us page. The official outdoor category currently presents category-level information rather than a clearly listed dedicated outdoor model, so buyers should confirm model-specific construction, parameters, and test documentation directly instead of transferring specifications from another product family.
Conclusion
A sound outdoor-lighting purchase starts with the site and ends with a controlled production reference. Buyers should define exposure, lighting task, beam behavior, electrical interface, mounting method, and maintenance access before approving a sample, then document the details that must remain consistent in production. This reduces the risk of choosing a fixture that looks suitable in a catalog but becomes difficult to install, service, or match across a commercial or architectural project.
FAQs
1. What information should be included in an outdoor LED lighting inquiry?
Include the application area, mounting position, target surface, approximate height, environmental exposure, required lighting effect, voltage, control method, quantity, and drawing restrictions. These details let suppliers respond to the project conditions rather than quote a generic fixture.
2. Is a higher IP rating always the safer choice for an outdoor project?
Not necessarily. The rating should match the real exposure and installation method. Buyers also need to inspect cable entries, joints, service covers, materials, and mounting details because the finished installation can introduce weak points.
3. Why should outdoor lighting be tested at night before mass production?
Night testing reveals beam shape, glare, spill, surface brightness, aiming tolerance, and color differences that are difficult to judge during daytime. A small mock-up also shows how several fixtures behave together rather than one sample in isolation.
4. What should be kept for repeat outdoor lighting orders?
Keep the approved sample, drawing revision, finish reference, optical requirement, electrical configuration, mounting details, and inspection criteria. These records give later batches a consistent comparison basis and help identify the effect of component changes.
5. Which component changes should trigger a new buyer review?
Review changes that may alter output, color, dimming behavior, beam distribution, sealing, mounting, finish, or serviceability. Depending on the change, document review may be enough, but visually or functionally significant revisions should be checked on a new sample.